
How to Cook Black Beans (From Scratch!)
This foolproof recipe yields the best black beans. Make a pot and enjoy black beans all week! Black beans are healthy, pantry friendly and affordable.
Updated by Kathryne Taylor on August 29, 2024
448Comments
Jump to recipe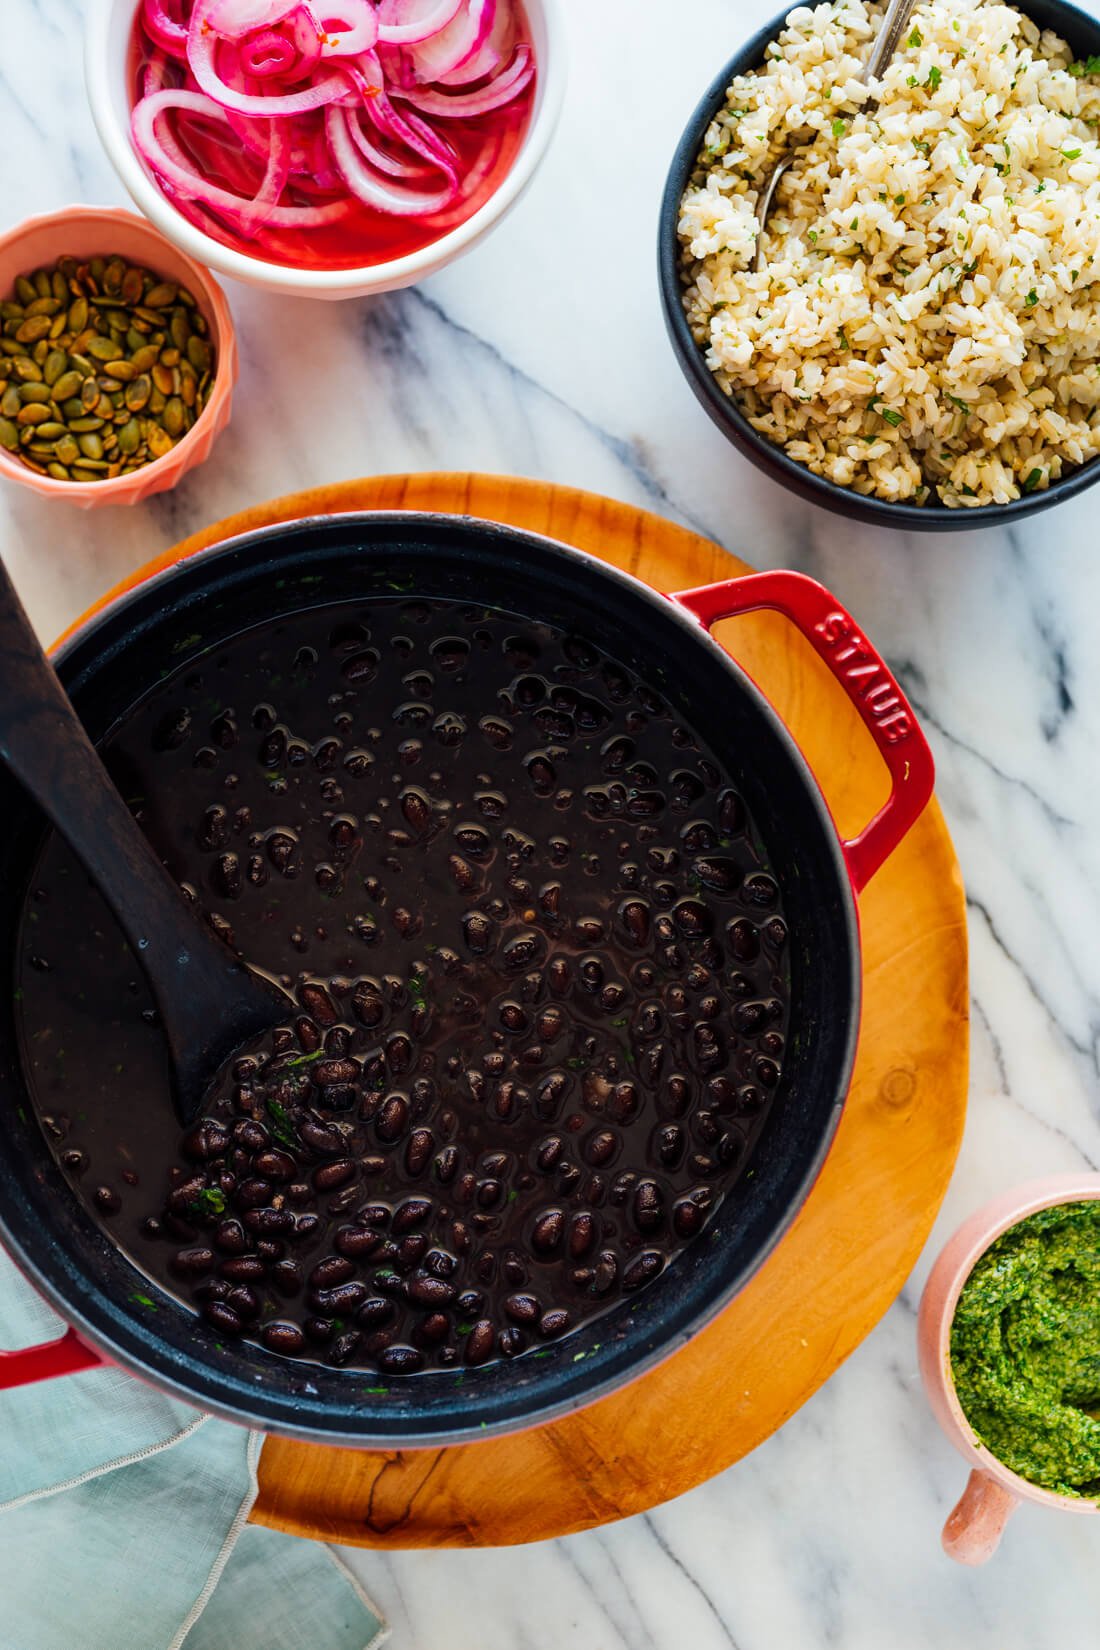
Meet my go-to, foolproof black bean recipe! If you’ve ever wanted to learn how to cook black beans from scratch, this guide is for you. These beans are rich and creamy, yet lively and full of flavor. They rival the frijoles negros I’ve loved in Costa Rica, Mexico and Belize, and they make a delicious side dish or meal component.
Home-cooked black beans offer far more flavor than canned beans, especially when you include the right seasonings. I’m thrilled with how these turn out. Dried beans are also less expensive than canned beans, and they reduce waste (no cans to throw away).
Plus, black beans are very good for you. Black beans are rich in fiber and plant-based protein, and a fantastic source of folate, thiamin (vitamin B1), phosphorus, manganese and magnesium. If you’ve ever read that beans are “unhealthy,” it’s because beans contain lectins until they’ve been sufficiently cooked. Lectins, which are naturally present in many plant foods, are considered an anti-nutrient. If you’re eating properly cooked beans, as instructed below, there’s no reason for concern.
You might be surprised to hear that black beans are actually so blue that they appear black. Black beans are full of anthocyanins, a powerful group of flavanoids that also makes blueberries, purple cabbage and red onions so nutritious. You can read all about black bean nutrition here.
If you’re learning to cook dried beans, start them early. The wild card with dried beans is that you’ll never be 100 percent certain when they’ll finish cooking. Better to start cooking well before you’re in a rush for dinner. Let’s get to it!
Watch How to Cook Black Beans
Black Bean Seasonings
Many black bean recipes incorporate bacon or lard, but these beans are free of meat products (they’re vegetarian and vegan). I played around with spices and flavorings until I came up with a clear winner.
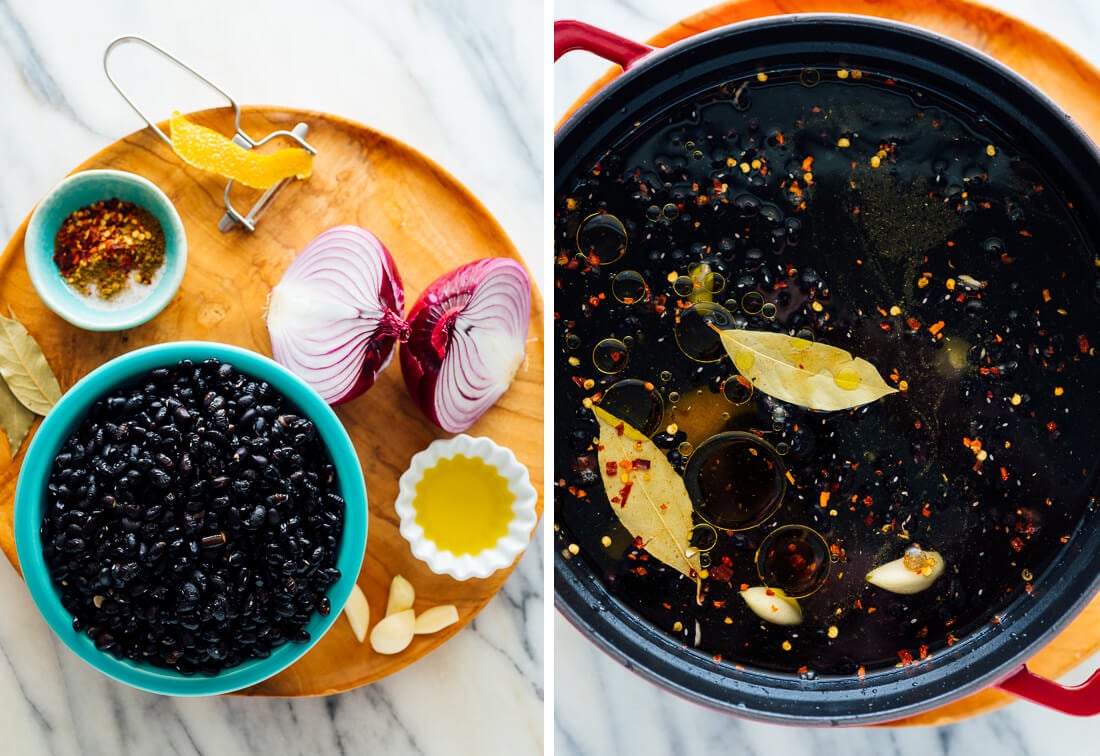
You can simplify the recipe by omitting any of the seasonings listed in the ingredients, but for the best flavor, I recommend using all of them. Here’s what I add to the pot before cooking:
- Red onion and garlic lend a savory backbone to these beans. We’ll chop up the onion and add it raw (I tried cooking it first, as I do for most recipes, but the flavor is distracting at that point). We’ll peel the cloves and add them whole. Once the beans are done, we’ll just smash them against the side of the pot and stir them in. Easy!
- Bay leaves further amplify the savoriness of these beans, offering an herbal flavor somewhat similar to oregano or thyme. Mexican black beans typically incorporate an herb called epazote that is somewhat reminiscent of oregano, so you can see how bay leaf would work as well.
- Extra-virgin olive oil (just a splash) makes these beans cook up nice and creamy.
- Ground cumin is commonly added to black beans, because they’re perfect together!
- Orange zest offers a subtle “je ne sais quoi” flavor. Just one small strip (peeled with a vegetable peeler) makes a big difference. I never would have thought to add orange, but Serious Eats suggested this Cuban twist and I love it.
- Red pepper flakes lend some heat. If you prefer mild beans, reduce or omit them.
After cooking, I like to stir in some chopped cilantro (skip it if you don’t like it) and a squeeze of lime juice to brighten up the whole pot.
Black Bean Yield & Conversions
Dried black beans are typically sold in one-pound bags, so I wrote this recipe to use the whole bag. It yields a big pot of beans (about six cups). If you don’t think you’ll be able to finish off the whole pot within five days, you can easily halve the recipe, or freeze leftovers for later.
Here are some measurements and conversions that might be helpful:
- Dried (raw) black beans: 1 pound = 16 ounces = scant 2 1/2 cups
- 1 pound dried black beans = 6 cups cooked black beans = four 15-ounce cans of cooked black beans
- Each 1/2 cup of dried beans yields a little over 1 cup cooked beans
The Great Bean Debates
To Soak, or Not to Soak
Here’s a compelling argument for not soaking beans by Kenji Lopez on Serious Eats. In summary, un-soaked beans require only marginally longer on the stove (as little as 20 minutes longer), have a deeper color (likely also more nutrients), and better flavor (less watered down).
Beans that are larger than black beans, such as chickpeas, may benefit from a soak. In my experience, soaking black beans is an unnecessary extra step.
To Salt Before Cooking, or Afterward
This is another highly contested matter, and once again, I leaned on Serious Eats for guidance. In their experiments, salted beans cooked more evenly. Unsalted beans actually absorbed too much water and popped open before their skins sufficiently softened. You can see their side-by-side comparison here.
Another bonus of salting early is that your beans will be more flavorful than if you reserved the same amount of salt until after cooking.
Stovetop vs. Pressure Cooker (Instant Pot)
Cooking your beans on the stovetop is the way to go. I truly wanted to offer a reliable Instant Pot shortcut, but my Instant Pot bean experience has been too frustrating to recommend.
Here’s the problem: When you’re cooking beans in a pressure cooker, you can’t keep an eye on them. Cook times for beans in the Instant Pot vary with every batch, for reasons explained below. Many times, you’ll need to re-pressurize the pot and cook the beans longer. How much longer is always a guessing game. Sometimes, the beans cook unevenly because they run out of water along the way. Or, if you accidentally cook them a few minutes too long, the beans become mushy and bland.
You’ll also love stovetop black beans for their condensed, stewy cooking liquid. It’s delicious! You’ll never achieve the same nice cooking liquid with Instant Pot beans because the water can’t evaporate during cooking. Instant Pot beans will be watery, even if you manage to cook the beans properly—such beans would be fine as a replacement for drained canned beans, but they won’t make a great side dish on their own.
Timing Issues with Old Beans and Hard Water
Here’s the frustrating reality about cooking beans from scratch: You’ll never know exactly how long they’ll take to cook. Sometimes, very old beans will never soften sufficiently.
If you just bought your beans from a store with good turnover, they might be done cooking after just an hour-long simmer. Most likely, they’ll be done by an hour and a half to two hours.
Check your bags for a harvest or expiration date. Ideally, we’ll cook them within a year of harvest. Store your beans in a dark, cool place in the pantry in an air-tight container. If you don’t remember how long your dried beans have been sitting in your pantry, I can’t say how long they might take—or if they’ll ever fully cook through. This is a risk you take with cooking beans from scratch.
Another factor, which surprised me, is that the minerals in hard water can slow the cooking process! I live in an area with hard water, and I’ve witnessed the difference water can make. We can thank Melissa Clark for this clue.
My fresh-from-the-store beans cooked up in a mere hour when I used filtered water. My next batch, the same beans purchased at the same time, took over an hour and a half because I cooked them in tap water.
So, use filtered or distilled water if you can. Here’s a map of hard water areas in the United States, and here’s the affordable water filter (affiliate link) that seemed to improve my cooking time. I also have a larger filter system at home, which is great.
How to Serve Black Beans
These black beans are a great side dish to serve with Mexican, Cuban or other Latin American-inspired meals. Here are some of my favorite options.
- Burritos: Sweet Potato Burrito Smothered in Avocado Salsa Verde or Vegetarian Breakfast Burritos
- Casseroles: Roasted Veggie Enchilada Casserole
- Chilaquiles: Chilaquiles Rojos or Chilaquiles Verdes
- Enchiladas: Black Bean Sweet Potato Enchiladas, Spinach Artichoke Enchiladas or Veggie Black Bean Enchiladas
- Quesadillas: 10-Minute Quesadillas or Crispy Mushroom, Spinach and Avocado Quesadillas
- Tacos: Favorite Breakfast Tacos, Halloumi Tacos with Pineapple Salsa & Aji Verde or Roasted Butternut Squash Tacos
Or, replace the bean component in the following recipes with these home-cooked black beans:
- Austin-Style Migas with Black Beans
- Kale, Black Bean and Avocado Burrito Bowl
- Simple Kale and Black Bean Burritos
- Southwestern Kale Power Salad with Sweet Potato, Quinoa & Avocado Sauce
- Spicy Sweet Potato and Green Rice Burrito Bowls
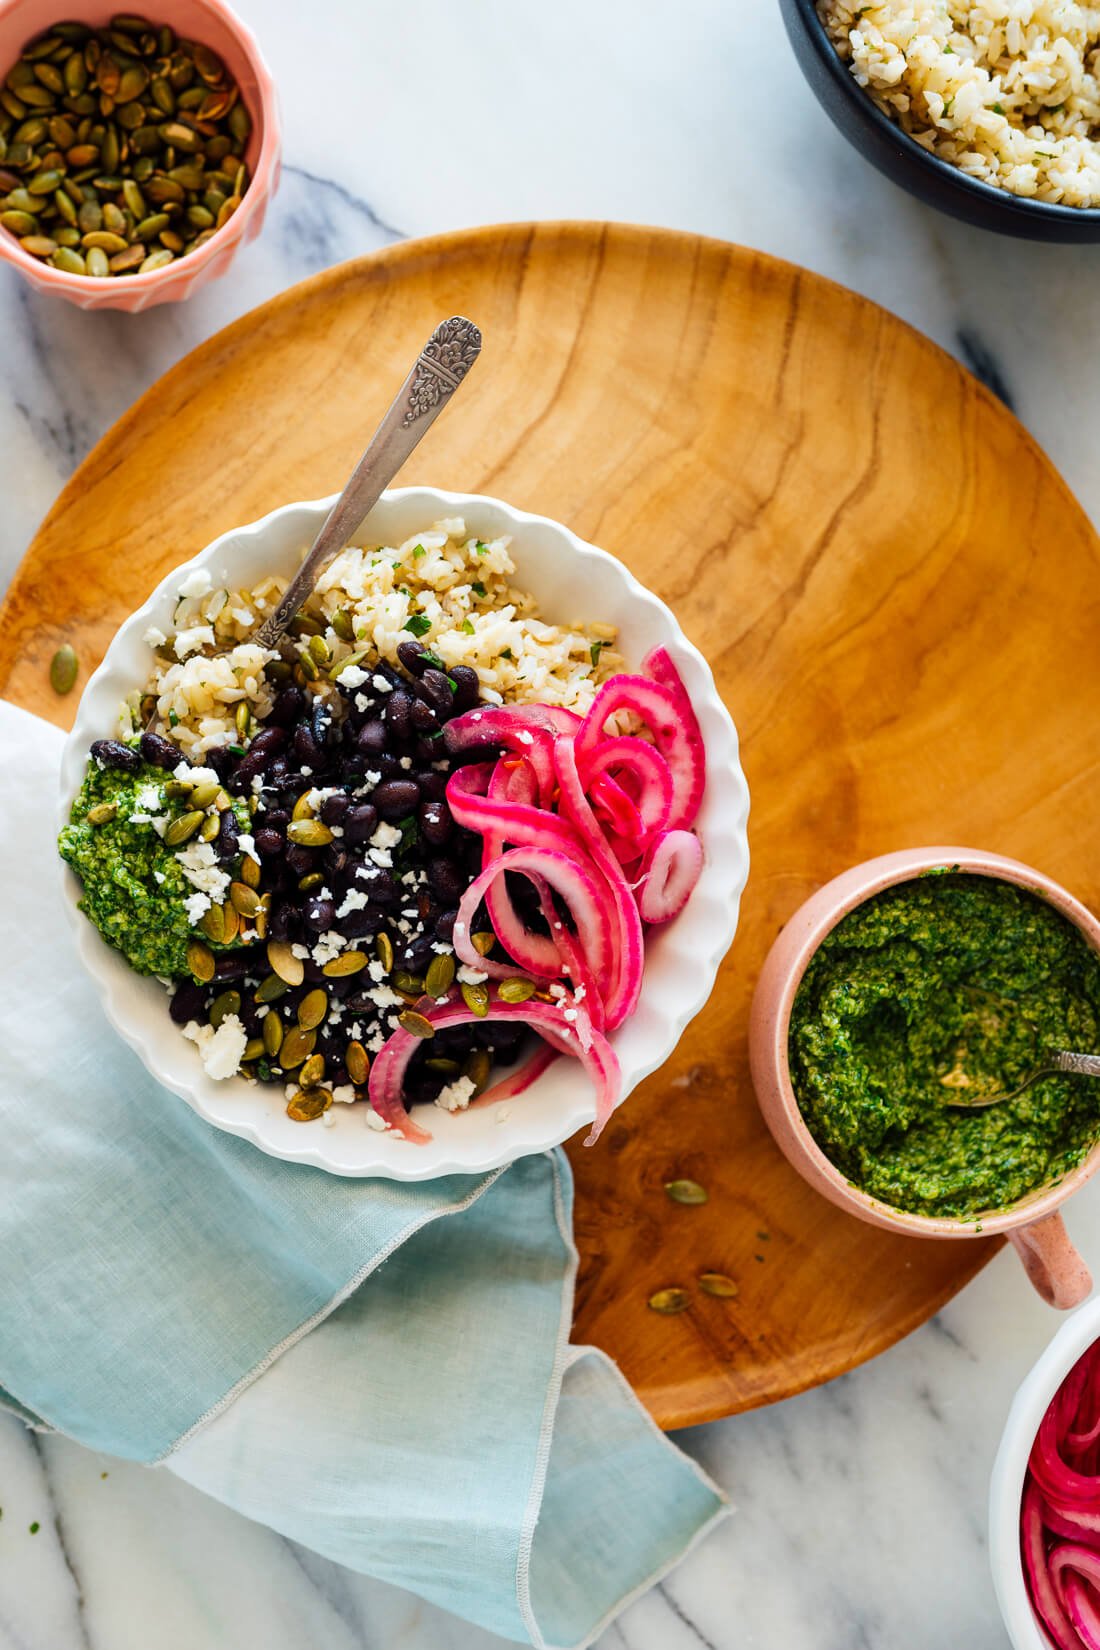
Lastly, these beans are a fantastic burrito bowl component. Add any of the following:
- Rice: Cilantro-Lime Brown Rice or Mexican Brown Rice
- Something saucy: Classic Pico de Gallo, Creamy Avocado Dip, Cilantro Hemp Pesto, Guacamole, Red Salsa or Salsa Verde
- Maybe some extra greens or veggies: Chunky Avocado Salsa, Fresh Corn Salsa, Quick Collard Greens or Marinated Kale
- Garnishes and accents: Quick-Pickled Onions, toasted pepitas, crumbled Cotija or feta cheese, sliced cherry tomatoes, etc.
View all of my recipes containing black beans here.
How to Cook Black Beans
This foolproof recipe yields perfectly tender and delicious black beans. Make a pot and enjoy black beans all week! No need to soak the beans before using. Recipe yields 6 cups beans (the equivalent of 4 cans); you can freeze leftovers or cut the recipe in half.
Ingredients
- 1 pound (16 ounces or scant 2 ½ cups) dried black beans*
- 1 medium red onion, chopped
- 4 medium cloves garlic, peeled but left whole
- 2 bay leaves
- 1 tablespoon extra-virgin olive oil
- 1 teaspoon fine sea salt
- 1 teaspoon ground cumin
- One strip of orange zest, about 2 inches long by ½ inch wide
- ½ teaspoon red pepper flakes (omit or reduce if sensitive to spice)
- 8 cups water**, more if needed
- 2 tablespoons finely chopped cilantro, optional
- 1 tablespoon lime juice
Instructions
- First, pick through your black beans for debris (sometimes tiny rocks can sneak in). Place the beans in a fine mesh colander or sieve and rinse very well. Pour the beans into a large Dutch oven or saucepan (4 quarts or larger in capacity).
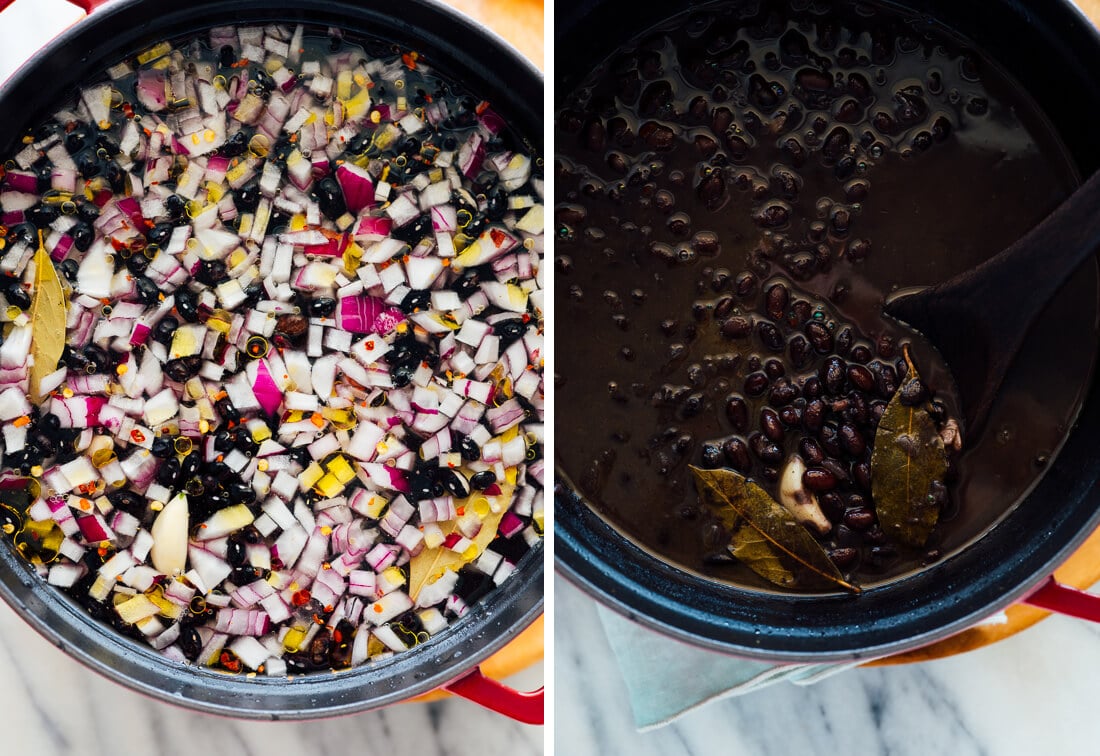
- Add the onion, garlic, bay leaves, olive oil, salt, cumin, orange zest and red pepper flakes (if using) to the pot. Pour in the water.
- Cover the pot and bring it to a boil over high heat. Remove the lid and reduce the heat to low to maintain a gentle simmer. Give the beans a stir to make sure none are stuck to the bottom of the pot, and set a timer for 1 hour. Leave the pot uncovered and adjust the heat as necessary to maintain a gentle simmer (you should see several small bubbles popping to the surface at any given moment).
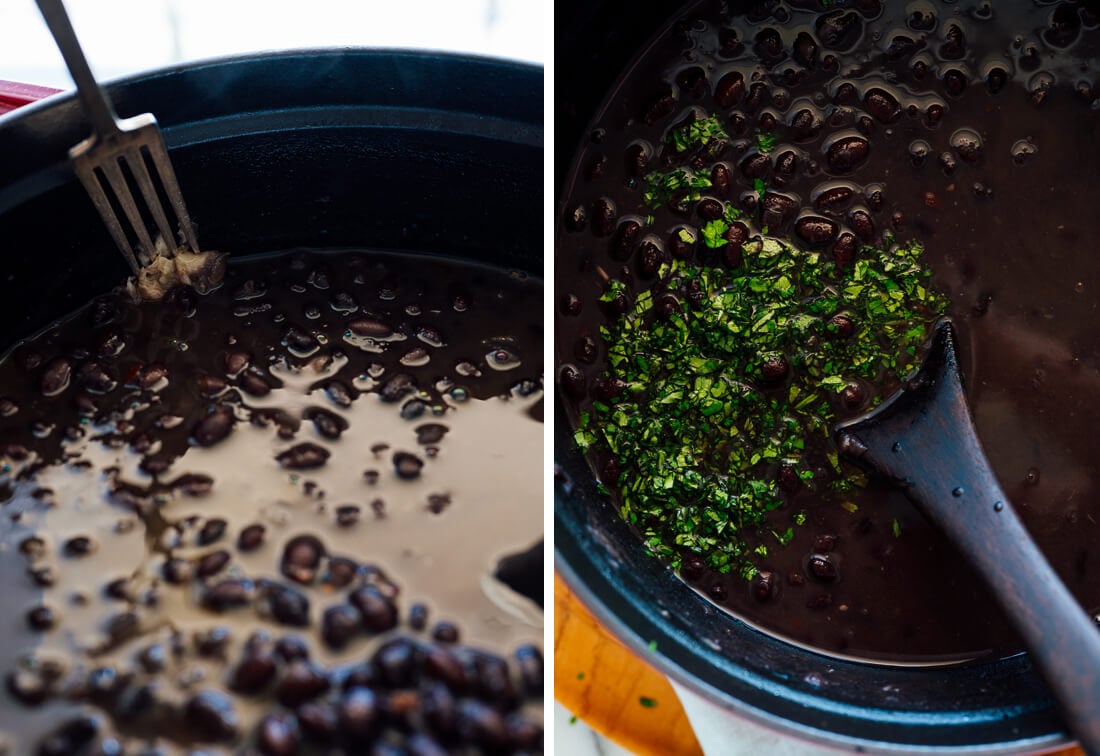
- Once the timer goes off, test a couple of beans by using a fork to press them against the side of the pot. If they’re easy to press through, taste a few (carefully! they’re hot!) to see if they’re sufficiently plump, tender and delicious.
- Otherwise, continue cooking, testing in 15 to 30 minute intervals as needed, until they’re done. If you’re running low on liquid, add water in 1-cup increments so the beans are covered at all time. (As mentioned in the post, if your beans are old, they can take several hours to cook and require a lot more water, and some very old beans may never cook through.)
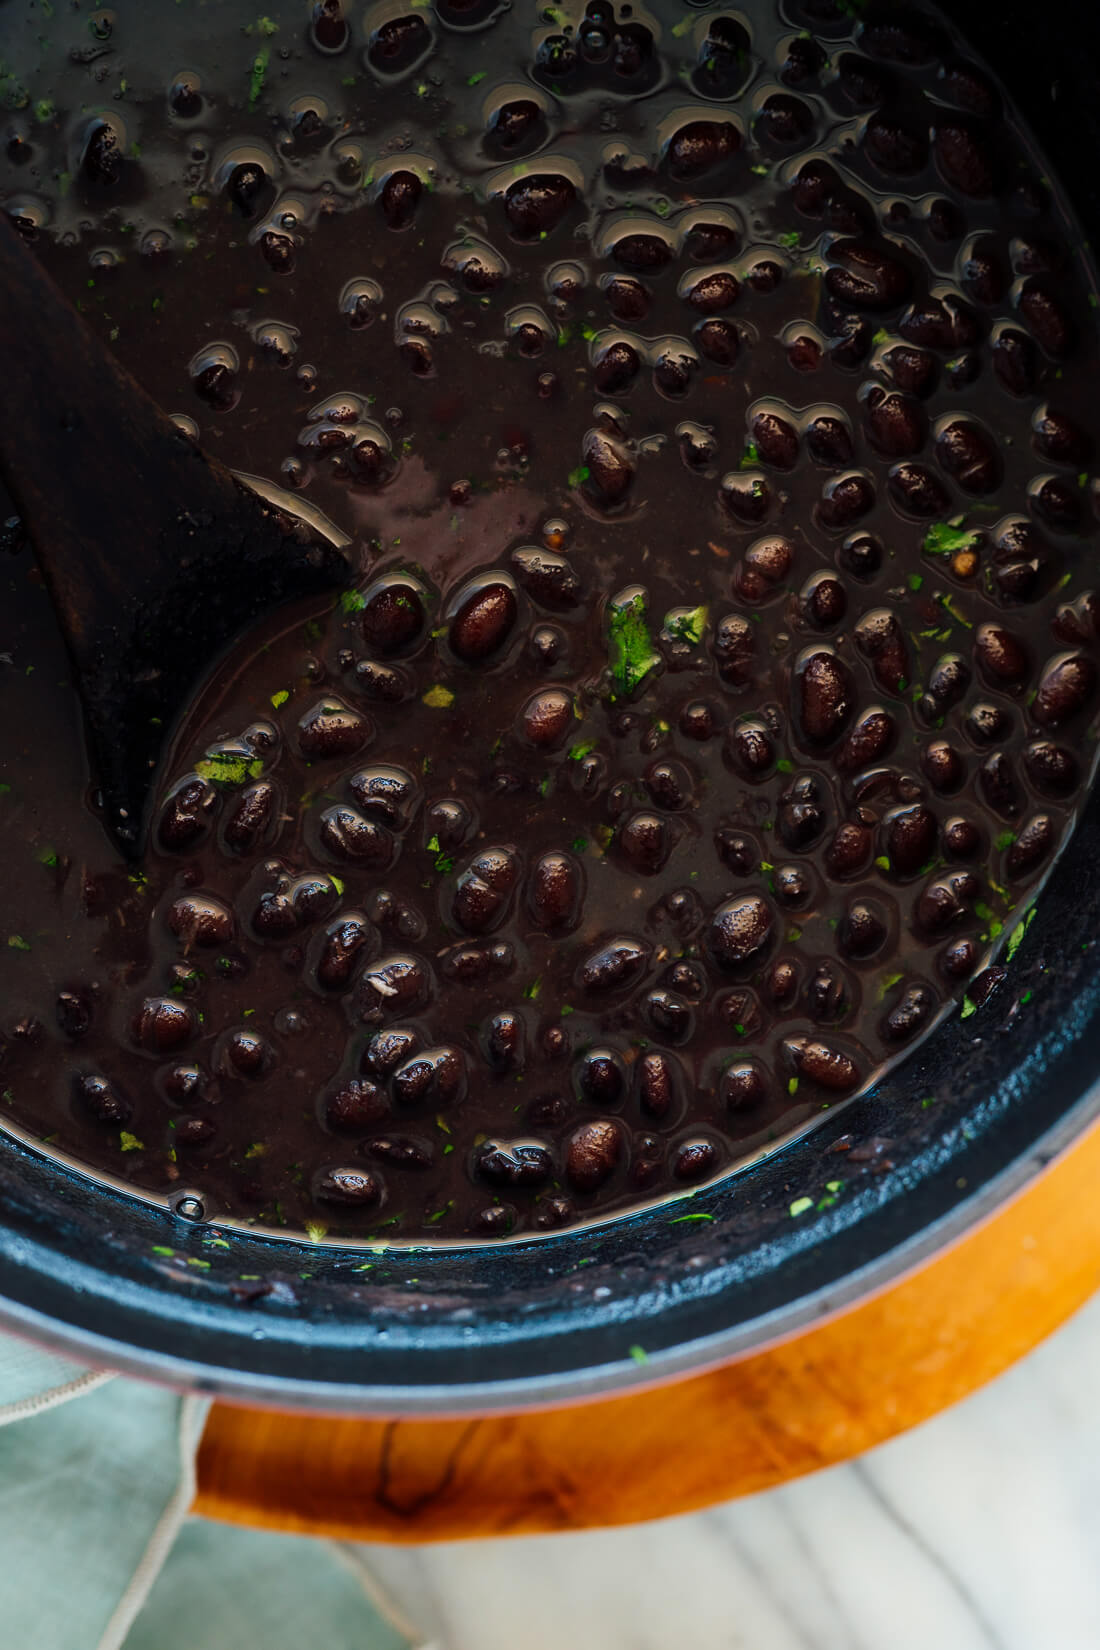
- Once the beans are very tender and tasty, you can increase the heat a little to reduce the cooking liquid into a more gravy-like consistency, about 5 to 15 minutes (it will continue to thicken up as the beans cool).
- Remove the pot from the heat. Carefully remove the orange zest and both bay leaves. Use a fork to press the garlic against the side of the bowl to break it up. Add the cilantro, if using, and lime juice. Stir to combine. Season to taste with additional salt, if needed. Use as desired.
- Allow leftover beans to cool to room temperature before storing in the refrigerator, covered, for up to 4 to 5 days. You can also freeze leftover beans for several months.***
Notes
Recipe created with guidance from Serious Eats.
*Bean note: It’s very important that your beans are fresh. Freshly purchased beans from a store with good turnover can cook in as little as one hour. Older beans can require several hours on the stove (and several more cups of water). Very old beans may never soften all the way through, and will never be suitable for consumption.
**Water note: If you live in an area with hard water, the minerals in the water may impede the cooking process (your beans will take longer to cook). Use distilled or filtered water if possible.
***Freeze it: I like to freeze leftover beans with their cooking juices in wide-mouth, pint-sized mason jars. You could also use small freezer bags—once frozen flat, they can be stacked. Regardless of your container, be sure that your beans have cooled to room temperature before freezing. If you’re using a rigid container (instead of a bag), allow some room at the top for expansion, and wait until the beans are fully frozen before securely attaching an air-tight lid. Defrost the containers in the fridge for several hours before using as desired.
Nutrition
The information shown is an estimate provided by an online nutrition calculator. It should not be considered a substitute for a professional nutritionist’s advice. See our full nutrition disclosure here.


These are excellent. Literally everytime I’ve used dry beans they never cook and are hard as rocks after hours. Now I understand that I was using really old beans.
Today, I made this for a big party and they are tasty and cooked in about an hour. Will definitely use this recipe again. Thank you.
You’re welcome, Erica!
I have looked at loads of black bean recipes this morning and this is the only one where you are not sauteing the onions and garlic and the seasonings.
I just checked the video. You really don’t do it.
Would you like to comment on that ?
Thank you.
Hi Howard, I tried lots of different ways with this recipe and this is what I found provided the best results. I hope you try it!
An hour !
I’ve been cooking them for 6 hours.
Still hard and no taste.
The beans came from the supermarket this morning.
I’m sorry to hear that! Did you check the date on the beans?
I’m one of the laziest people on the face of the earth but I decided I wanted to make these black beans from scratch. I will never, ever eat a canned black bean again! When you said they would be worth it, you weren’t kidding! I will be having the black bean burrito bowl tonight for dinner and I can’t wait to eat it. I just need to stop myself from sneaking spoonfuls of black beans from the bowl while I wait for my rice to cook!
Hooray! I’m happy to hear you enjoy this, Carol.
Great ingredients, wonderful aroma and flavor! The only problem I had–as my first time buying and making beans from scratch–was that the black beans I got were the largest I’ve ever seen! So after cooking for two hours, they still weren’t completely soft. I’m going to guess these particular beans would have taken four hours, but then a lot of your wonderful stuff would have cooked out. I suppose I could have cooked them without the ingredients for three hours, and then edded them in for the last hour, but I think I’ll just try again with much smaller beans LOL!
Will continue to use this recipe. Added a little more spice to my taste. The cilantro & lime are a must, cause they add that final punch.
Once the beans cool, the flavours really meld & I bet are even better the next day.
I thought I knew how to cook black beans. Apparently, not. These are the best I have ever had! Thank you!
You’re welcome, Amy!
These are fantastic and have become a regular staple in our home. Thank you so much for sharing a wonderful recipe!
You’re welcome, Christina!