How to Cook Perfect Brown Rice
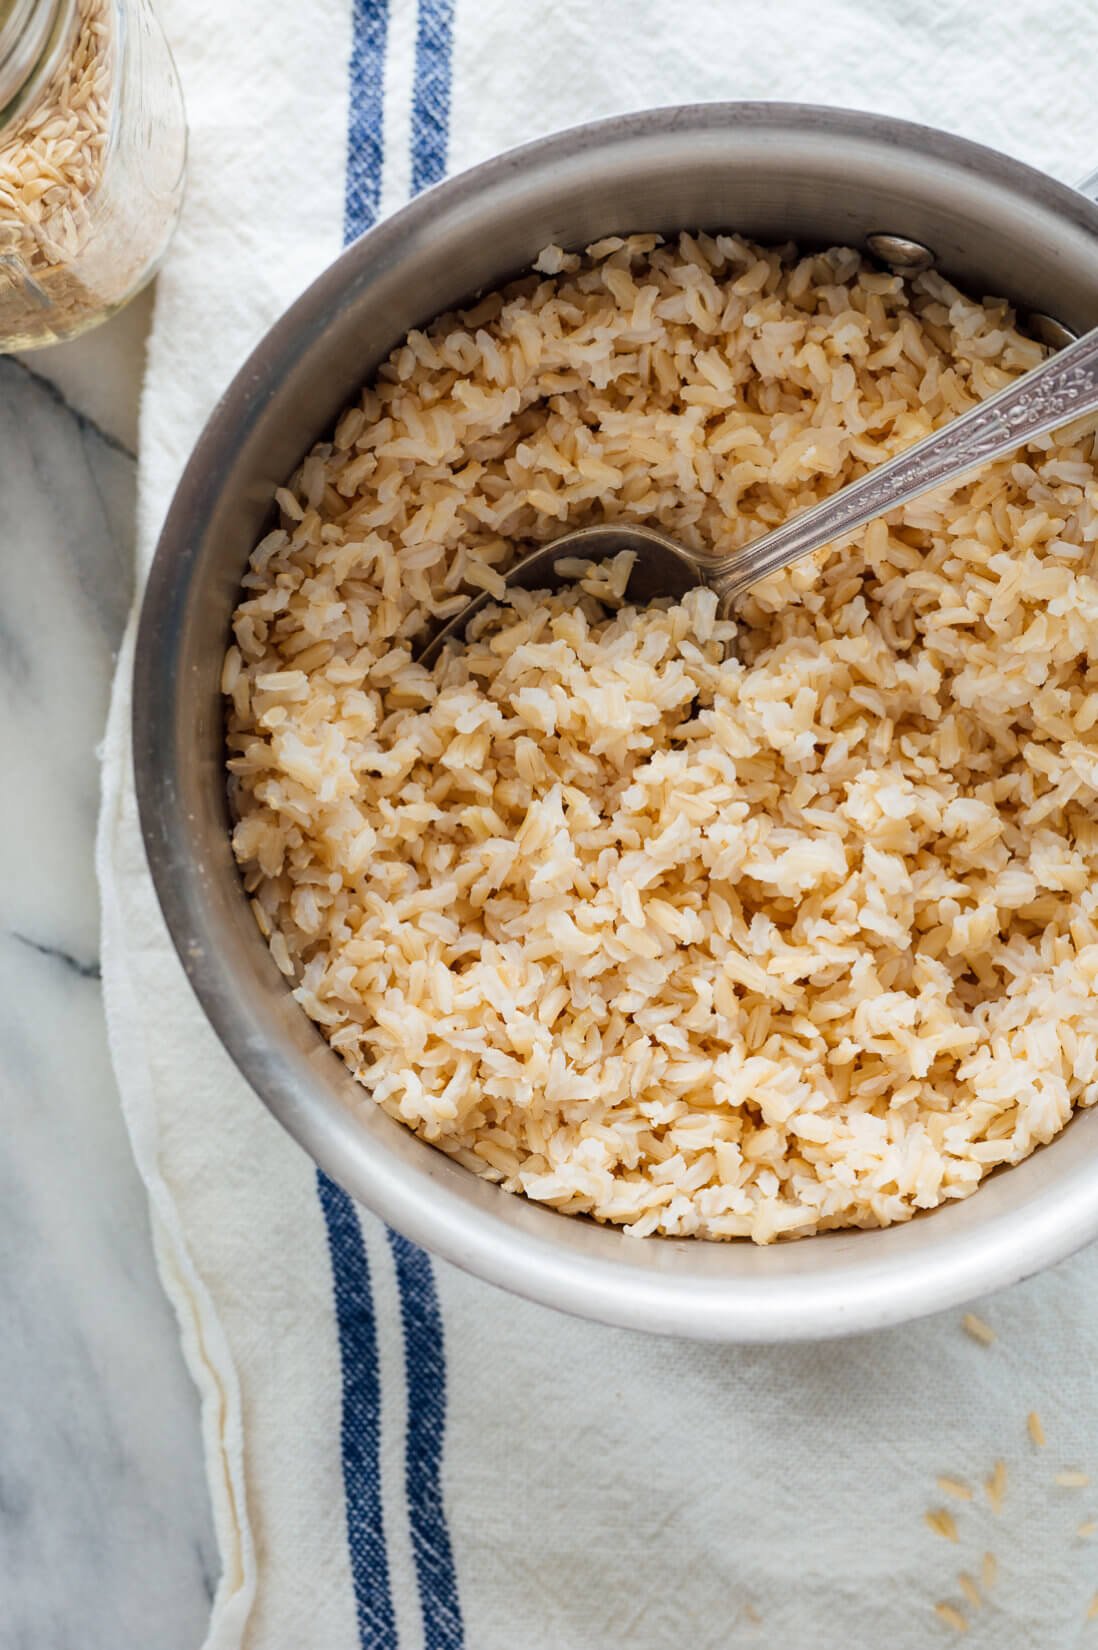
This stovetop brown rice recipe yields perfectly fluffy brown rice, every time, with any variety. You'll never want to cook brown rice any other way!
Updated by Kathryne Taylor on August 29, 2024
577Comments
Jump to recipe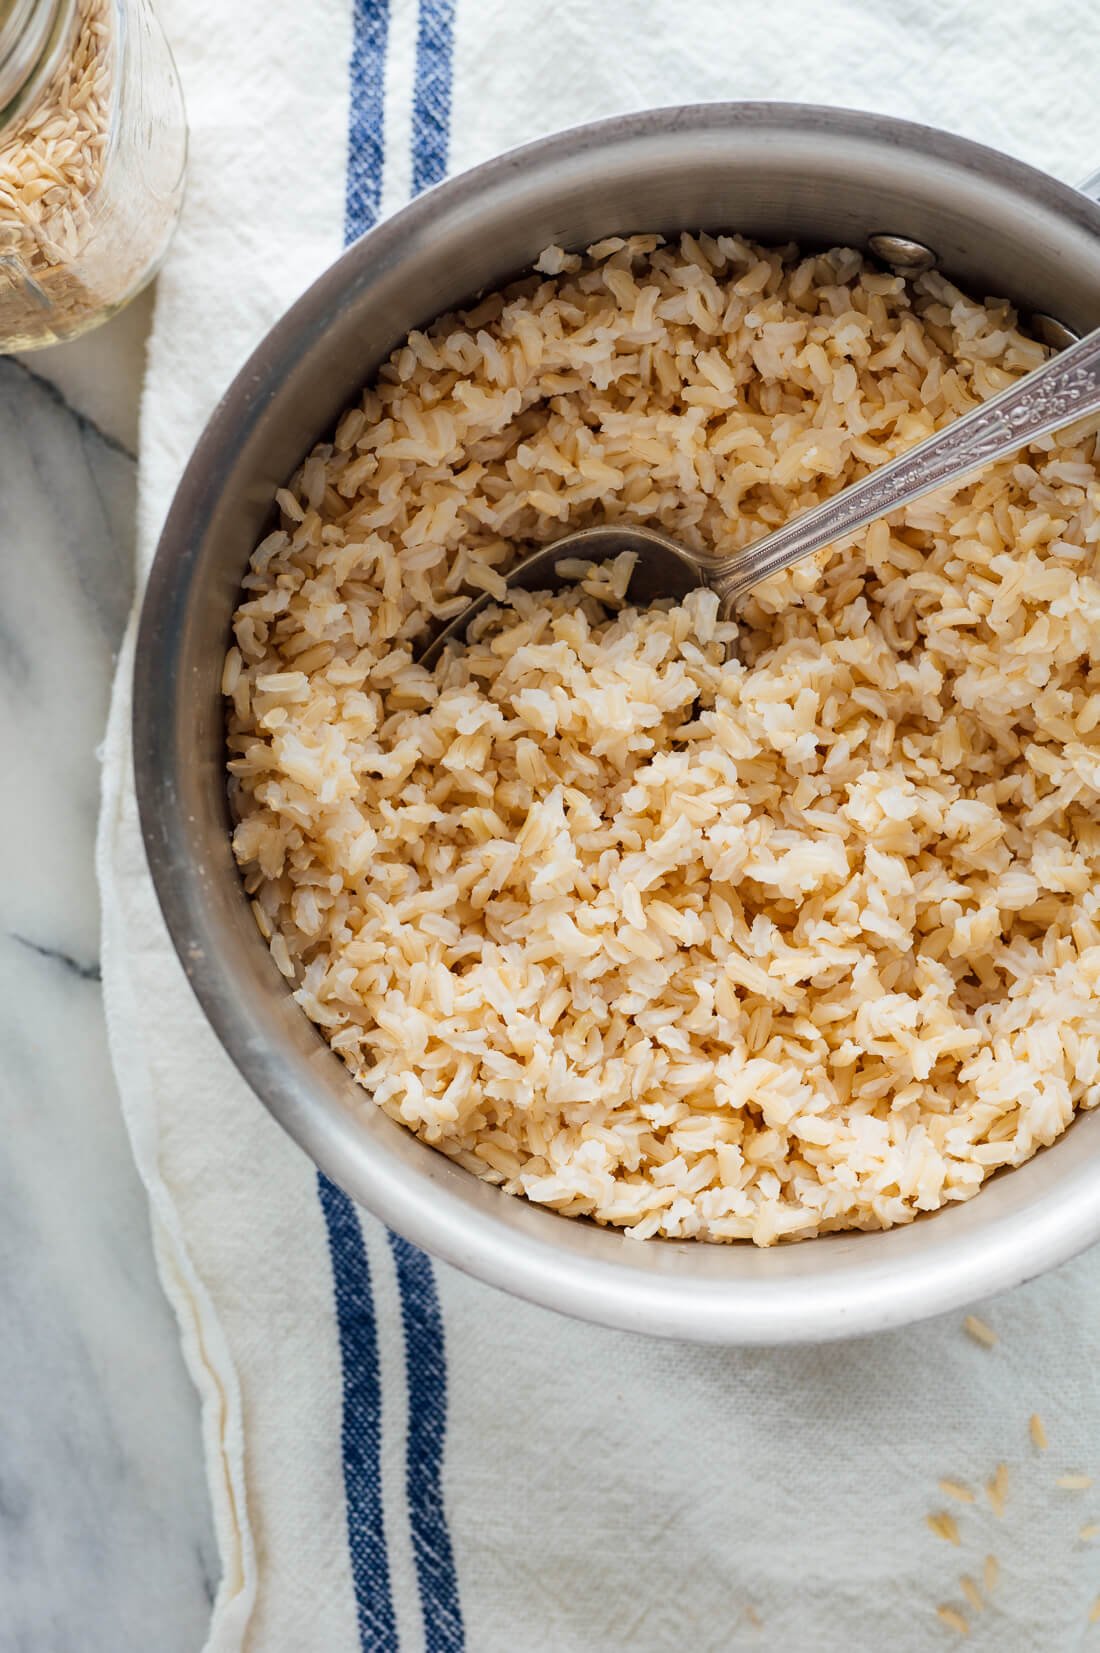
Repeat after me: No more mushy rice! No more mushy rice! I’ve been using this brown rice cooking technique for years, and it never fails.
A few reasons to love this recipe:
- You don’t need a rice cooker or any special equipment (just a pot with a lid, and a kitchen stove).
- You can use this technique on any type of brown rice (long, medium or short grain, as long as it’s not a quick-cooking variety).
- It’s so easy to remember, you’ll never need to look up how to cook brown rice again.
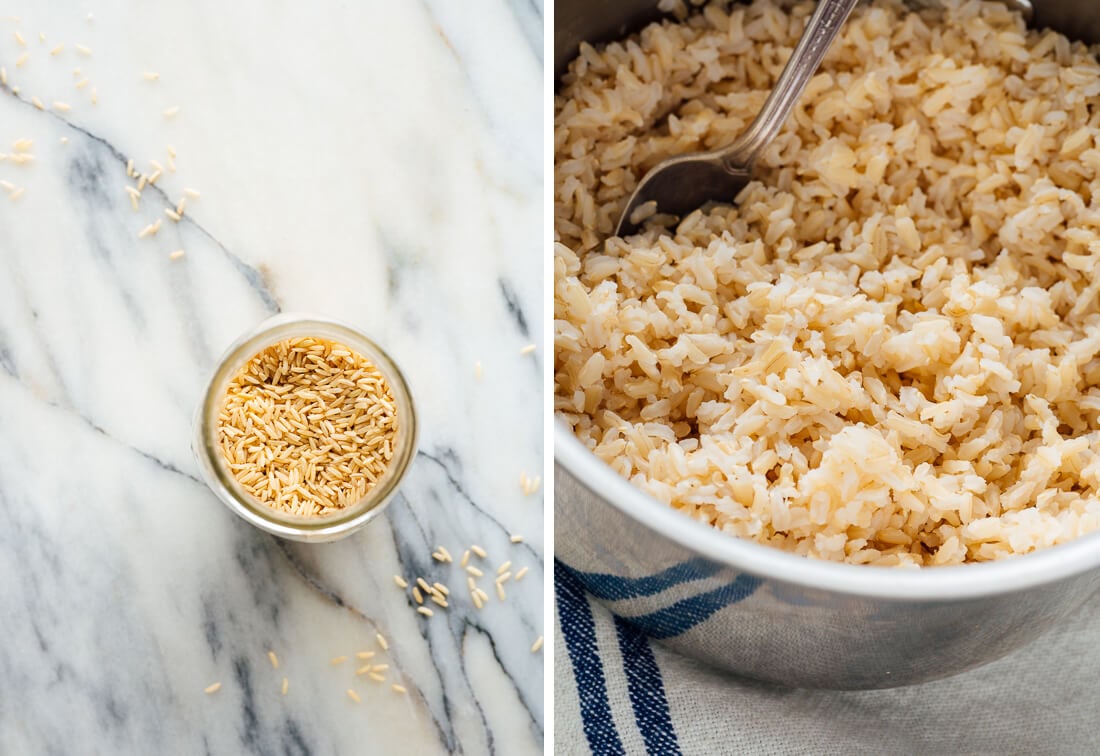
For this technique, you’ll boil your rice in an abundance of water for 30 minutes. Drain off the excess water, return the rice to the pot, cover, and let the rice steam for 10 minutes. Ta da! Perfect brown rice, every time.
I originally found this technique on Saveur, and I’m so thankful I did. Their recipe calls for 12 cups of water (that’s a lot) per cup of rice, and I’ve learned that it really only needs 6 cups.
However, you don’t actually have to measure the water as long as you’re using a large enough pot. If too much water evaporates during the cooking process, just add more and return the water to a boil. Your rice will still turn out perfectly!
Watch How to Cook Brown Rice
How to Cook Perfect Brown Rice
Once you try this easy technique, you’ll never want to cook brown rice any other way. You can scale this recipe up or down as needed. The basic ratio is 1 part brown rice to 6 parts water, which yields 3 parts cooked rice. As written below, the recipe yields 3 cups cooked rice.
Ingredients
- 1 cup brown rice (short, medium or long grain brown rice will work, as long as it’s not a quick-cooking variety)
- 6 cups water
- Salt, soy sauce or other desired seasonings, to taste
Instructions
- Bring a large pot of water to boil, using at least 6 cups water per 1 cup rice. Rinse* the rice in a fine mesh colander under running water to remove excess starch.
- Add the rice to the boiling water. Reduce the temperature as necessary to prevent overflow, but maintain a steady boil. Boil, uncovered, for 30 minutes.
- Drain off the remaining cooking water and return the rice to the pot. Cover the pot and let the rice rest, off the heat, for 10 minutes. Fluff, season as desired, and serve.
Notes
Recipe adapted from Saveur.
*Note on rinsing: I’ve forgotten to rinse my rice before, and the rice turned out almost as good. The cooked grains are a little more starchy—you can see a thin layer of gluey starch at the bottom of the pot after steaming. If you’re in a hurry, skip the rinse.
Make it gluten free: Rice is gluten free, so just be mindful of your additions. Soy sauce, for example, is not gluten free (substitute certified gluten-free tamari instead).
Wild rice option: For wild rice, use 8 cups water and boil for 40 to 55 minutes, until tender but pleasantly chewy.
Nutrition
The information shown is an estimate provided by an online nutrition calculator. It should not be considered a substitute for a professional nutritionist’s advice. See our full nutrition disclosure here.
5 Recipes Featuring Brown Rice
The following recipes feature this brown rice cooking technique. I have many more brown rice recipes here. You’ll find brown rice risottos, paella, mujaddara and more.
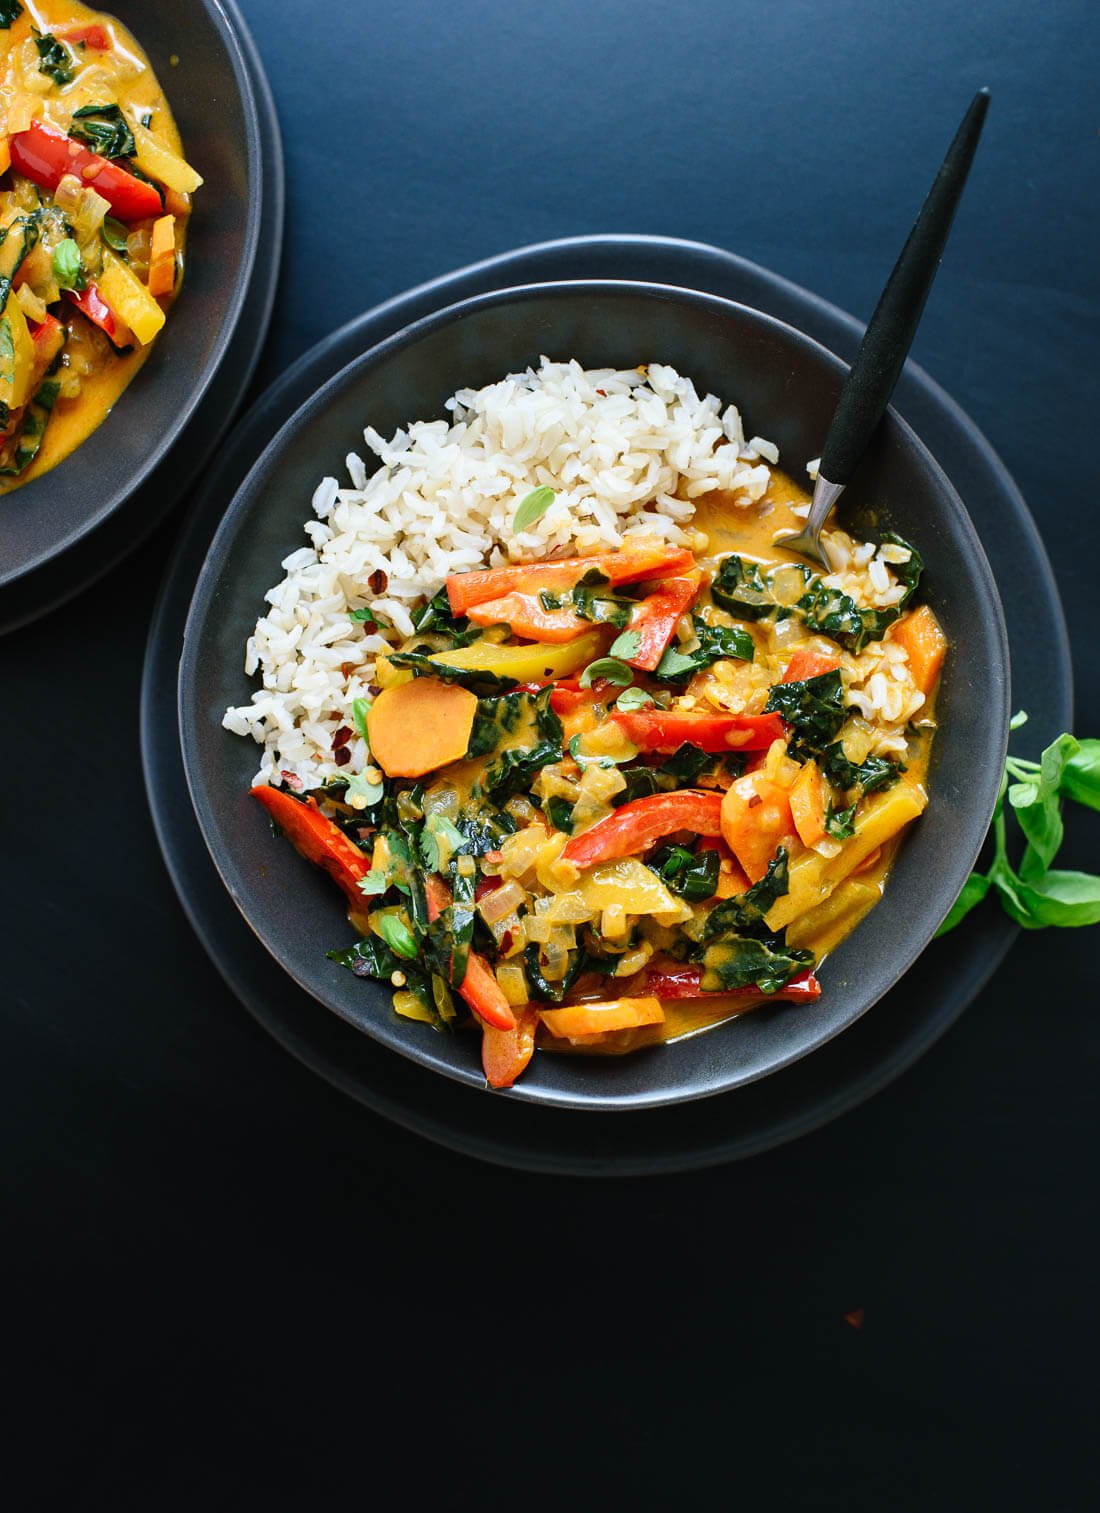
1) Thai Red Curry with Vegetables
Gluten free and vegan
“Made this yesterday following the recipe quite faithfully. Hubby said it tastes exactly like the red curry at our favorite Thai restaurant! This is a winner and will be bookmarked and made often! The details provided in the recipe such as time to cook at each step ensure that you can’t go wrong with the recipe. And so I would feel confident making this recipe for company too.” – Poornima
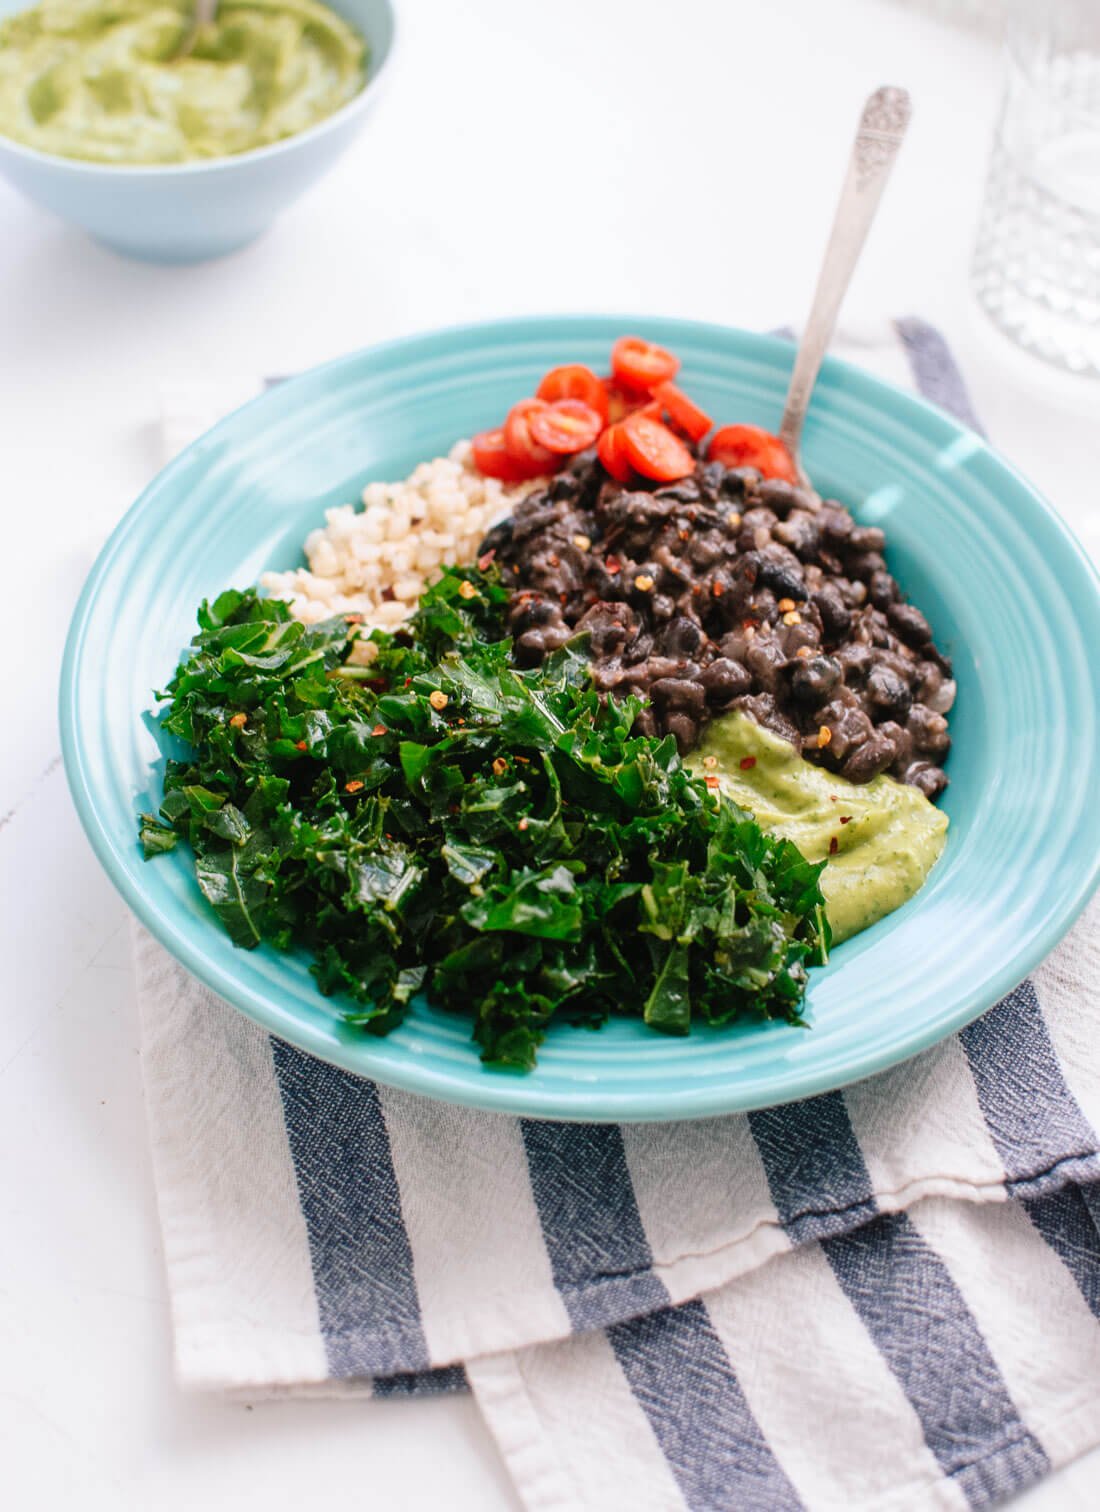
2) Kale, Black Bean & Avocado Burrito Bowl
Gluten free and vegan
“I’ve made this twice now and love it! The lime juice-marinated kale totally converted me to eating raw kale! This is a perfect recipe to make for weekday lunches in the office because it’s easy to pack and reheat and leftovers taste just as great. Thanks!” – Lauren
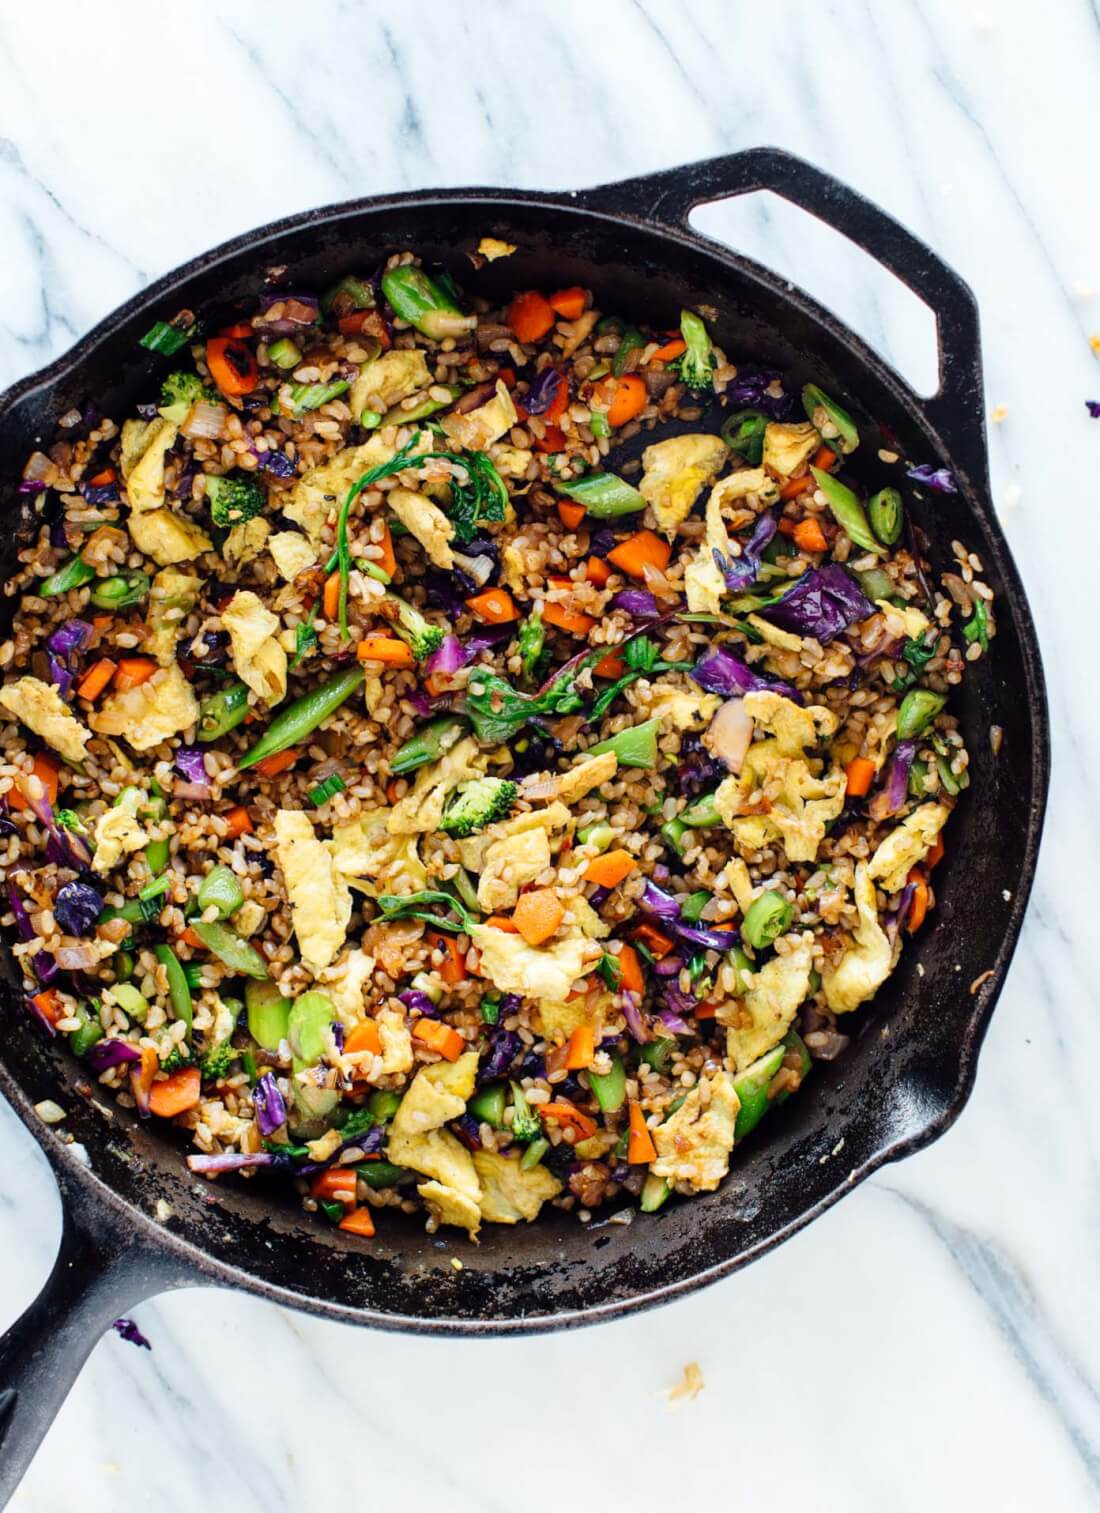
3) Extra Vegetable Fried Rice
Gluten free and easily vegan
“I made this last weekend and love love loved it so I’m making it again this weekend! My husband really liked it too, and it’s a tall order to get him to eat a lot of vegetables so this will be entered into our regular rotation for sure. So glad I found this blog, I’ve email subscribed and have just purchased your cookbook! Thanks Kate!!” – Julia
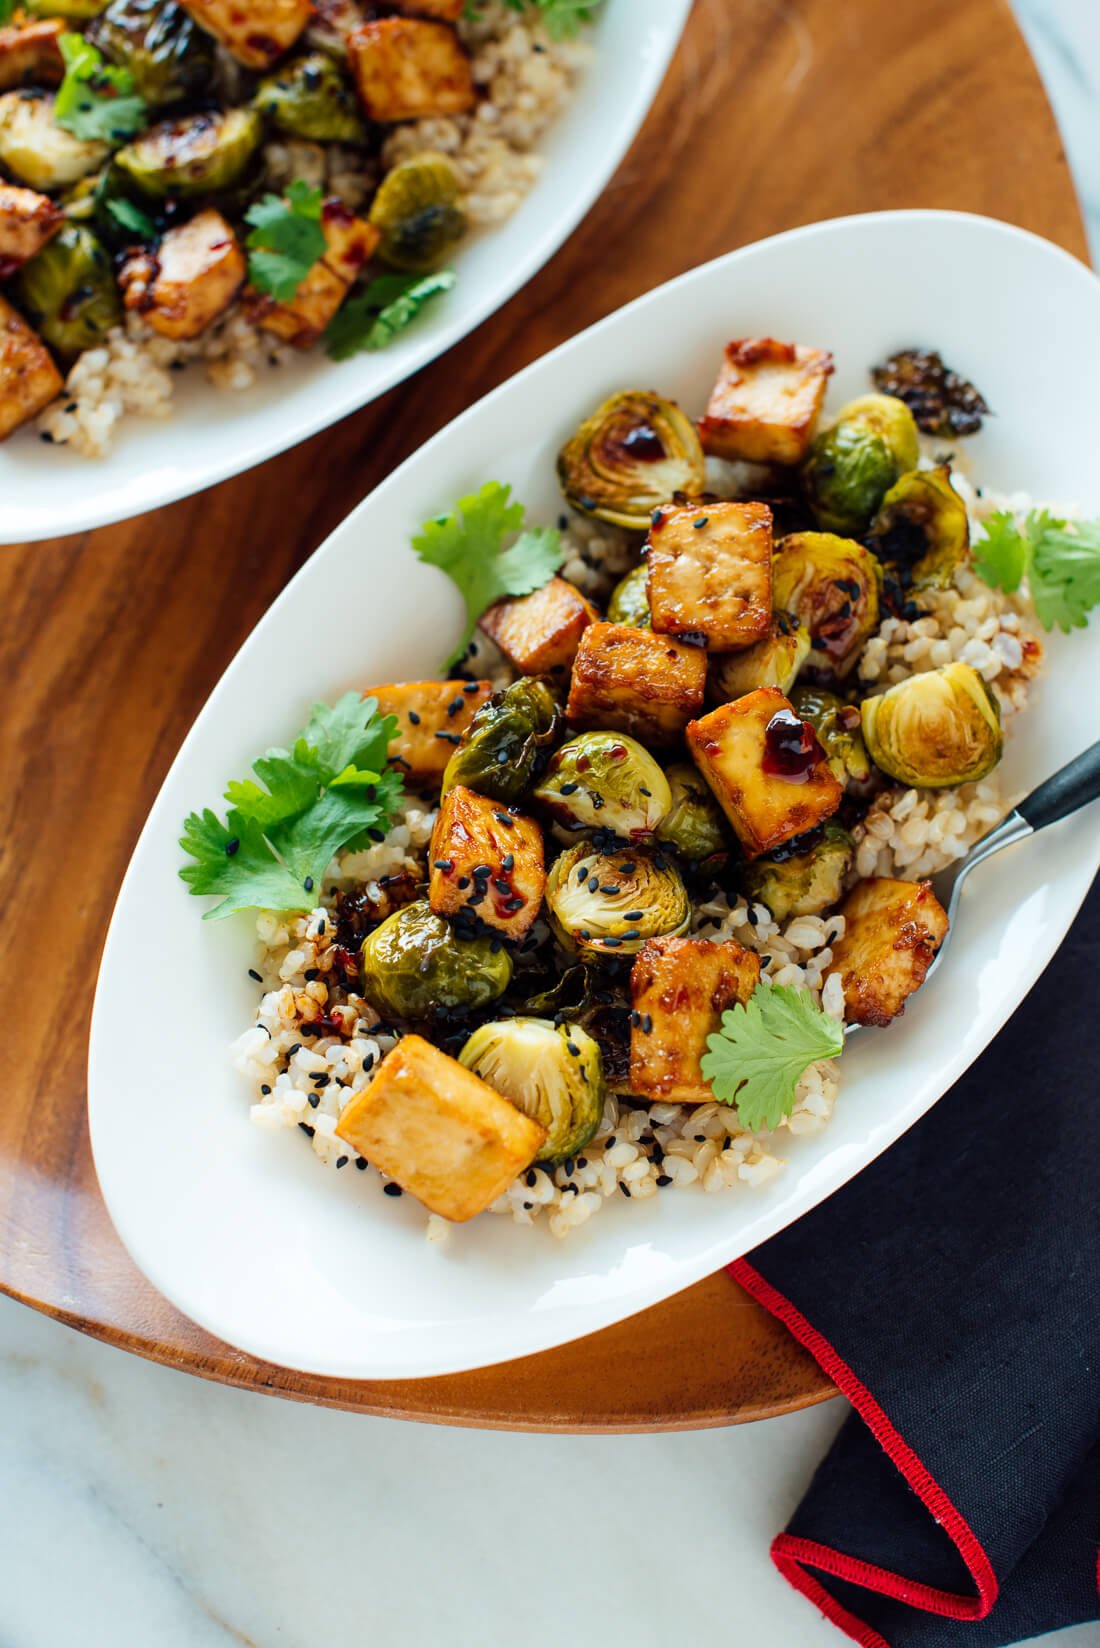
4) Roasted Brussels Sprouts and Crispy Baked Tofu with Honey-Sesame Glaze
Gluten free and vegan
“Another amazing recipe, perfect combination of sweet and spicy. I pitched this to my meat loving boyfriend as vegetarian general tso’s, and it worked! Every recipe I cook from this blog is so delicious – all I want to know is when is the Cookie and Kate cookbook release date! Thank you, Kate, your recipes have renewed my love of cooking and make breaking bread with loved ones even more special.” – Ailla
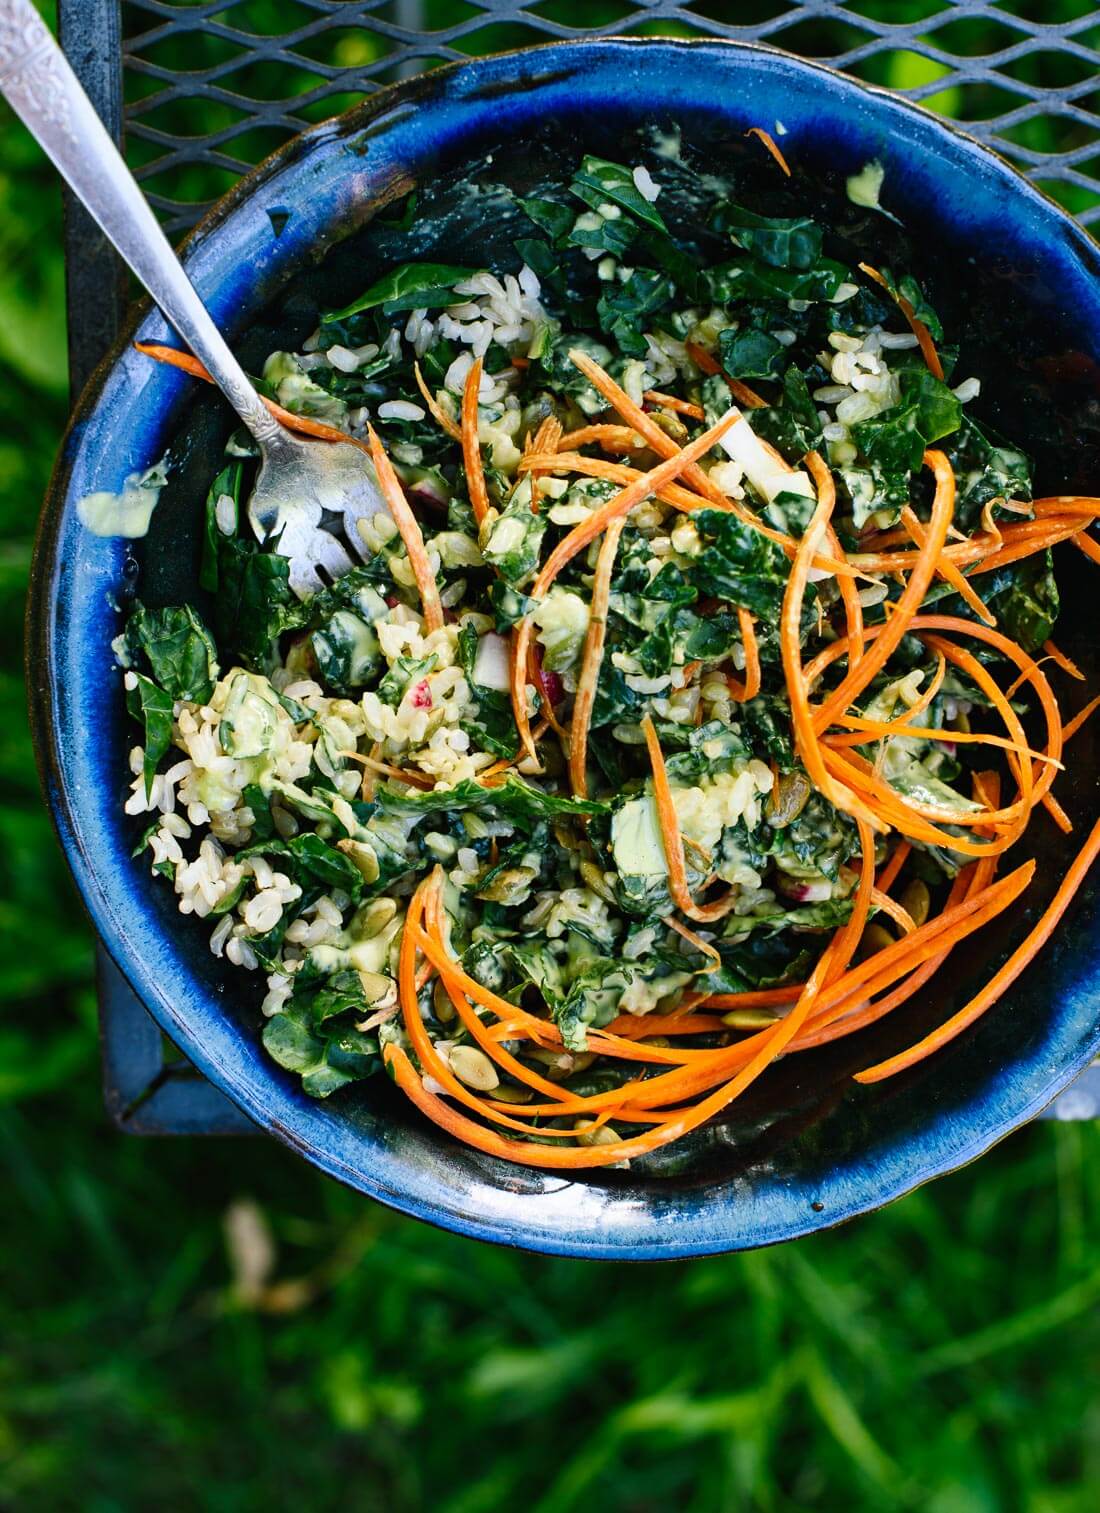
5) Anything-Goes Kale Salad with Green Tahini Dressing
Gluten free and vegan
“Thank you so much for this lovely salad, beautiful and delicious! The dressing is such a nice combination. Just the thing after a weekend of not-so-healthful eating.” – Wendy
More resources you might appreciate: 23 make-ahead breakfast recipes, 45 recipes that pack well for lunch and 20 simple weeknight dinners. You can shop my essential kitchen equipment here. Don’t forget to follow us on Pinterest for a steady stream of recipe inspiration!



The Extra Vegetable Fried Rice is so delicious! I use it all the time. So grateful to have found it.
I’m glad you found it too, Ann! I appreciate your review.
#cookieandkate
Major fail on the brown rice, followed directions to a tee! Like porridge, I have tried so many recipes and was hoping this would work, however it did not. Love your other recipes, I give up on brown rice! Jasmine all the way, works every time!
Hi Mavis, I’m sorry to hear this. I have made this several Times without issues. Did you use a large enough pot? How long did you cook it?
this is an easy and successful way to cook rice. plus rice is a high arsenic food, and this method will leach about 50% of the arsenic out of the rice – throw away the cooking liquid – according to the healthline web site, so likely the healthiest way to cook it as well. thanks for the recipe.
You’re welcome, Nancy!
I’ve tried a bunch of different methods to cook brown rice over the years, and I’m always disappointed. It never cooks through, it takes forever, and I usually end up with some burnt on the bottom of the pot. I had to up my cook time to 40 minutes but this worked! Brown rice cooked perfectly with none stuck to the bottom of the pot. I did have to add more water at one point. I used this for your vegetable fried rice recipe and it was so good. My husband actually commented that this was the “best rice” he’d ever had with fried rice.
Hooray! I’m glad this worked for you. Thank you for your review, Stacy.
Thank you for this, most people don’t understand about boiling rice and I think it’s a perfect way to decrease starch. I was looking for the time frame, and I finally found it with your recipe, I also like the 10 minute steam at the end to let the red settle.
You’re welcome, Jim! Thank you for your review.
Love it! Made the perfect brown rice recipe comes out perfect every time. Look forward for more recipes.
Thank you
Heidi
You’re welcome, Heidi!
Hi Kate,
I am a fairly new cook, started at age 65 : > }
I have been wondering – why so much water?
I have been making 3 cups of brown rice in a 12 cup pot, this means about 1 rice to 3 1/2 cups water and it seems to come out fine.
I am just curious and maybe other people are too!
All the beswt,
Charles
It helps give enough for different types and freshness of rice. I hope you try it!
Perfect every time. Thanks!
You’re welcome, Jill! I appreciate your review.
Love this recipe – foolproof!
Question: would I use the same method for brown basmati rice?
It should work too. Let me know how it turns out!
I’ve used mother in law’s 10 minute white rice hack for years (perfect rice on stove top in 10mins!). Love brown rice but seldom cook it A) takes too long to cook down and B) variable results … so, thank you for this recipe , I use it all the time now with even my picky husband enjoying brown rice without complaint!
Hey! I made brown rice using this recipe. I had given up on them but using your recipe I finally made it again. They taste good but took more than an hour. Thanks anyway!
You’re welcome, Rabia! I appreciate your review.
Prior to coming across this article, I was using my computerized rice cooker which consistently overcooked brown rice, even following the steps in the manual to the letter. Using this simple method, my brown rice has turned out fluffy and perfect EVERY TIME! Cook your rice a few times using this method and you’ll find it’s committed to memory. Thanks again for printing it!
Mushy rice. Rice turned out mushy. I followed everything and boiled it for 30 minutes then left it for 10 off heat without water. Big gluey clumpy mess. I don’t know why the positive reviews. Ruined my food.
I’m sorry to hear that. What type of rice did you use? How big of container did you use?
This works brilliantly!
I hope to learn more Katie. Thank you!
This didn’t work. I just made this.
Still turned out to be mushy rice. Followed recipe to a T.
Hi KT, I’m sorry to hear that. Sometimes the size of pot matters. If it’s not big enough, this can still happen.
I’ve made this 3 times so far. 1st came out perfect. 2nd time it was like mush but I also cooked it a bit longer and heat on high. 3rd time close to perfect. The mushiness is starch. There is a fix that has worked very well. After the 2nd time, I turned on the hot water and got it very hot and rinsed it in a collander, put back in pan for 2 mins on low, 8 mins no heat, and it was perfect. Tap your collander on the pan and all rice will come out. I did the same the 3rd time. If you don’t want to use tap water, use filtered water heated to a boil in a teapot. I will now rinse it even if it turns out good, just to wash out the starch and make it fluffy.
I tried it for the first time and worked pretty well actually. I used a large pot than I thought I needed, to be safe, based on some of your feedback to other comments.
Do you have the details on how to do this method for black rice?
Thanks!!
Are you referring to wild rice?
No – referring to black or forbidden rice I eat it all the time.
I haven’t tried it with this method so I can’t say for sure. Sorry!
I’ve used mother in law’s 10 minute white rice hack for years (perfect rice on stove top in 10mins!). Love brown rice but seldom cook it A) takes too long to cook down and B) variable results … so, thank you for this recipe , I use it all the time now with even my picky husband enjoying brown rice without complaint!
That’s great to hear, Sheila!
Oh my goodness, what a difference it makes to cook brown rice this way! It came out fluffy and light. I’ll never cook brown rice any other way. Yet another winner of a recipe from Bookie and Kate. Thank you!
You’re welcome, Norma! I’m delighted you enjoyed it.
I had read that using a 12:1 ratio for cooking rice (and using a pressure cooker) significantly reduces arsenic, and anti nutrients like lectins and phytic acid, so I tried that but it was to mushy. So then I figured I could under cook it and finish with steaming for the best of both worlds…so I came to the same conclusion through trial and error.
I don’t measure either I just cover with a few inches of water and use a rice steamer net to lift it out and put into steamer tray easily.
My new favorite way to cook brown rice! You’re so right. It turns out perfect every time :))
Great to hear you enjoyed it, Leslie! I appreciate your review.
I tried this rice recipe, and it turned out way too wet and all stuck together. It was edible, but my family likes their rice fluffy and this was too wet to fluff.
I’m sorry to hear that! Did you use a large enough pot?
I tried your perfect brown rice today using only 1/2 cup rice, as an experiment. I had let the rice sit overnight in 5 cups water, as I had read this is the most effective way of getting arsenic out of brown rice, then proceded with your recipe, cutting the recommended water by half since it was only 1/2 cup rice. I had tried this soaking overnight method before, and after cooking, it was mush. So I was pretty sure my experiment with your recipe would be mush too. It was perfect! Even after all that soaking! I am so pleasantly amazed! Thank you for putting healthy recipes out there for us.
Thank you for this way of cooking brown rice! Use it every time I make it! Delicious!
I have made brown rice the way you described 3 times except that I kept the lid on. I just read the recipe again and you suggest to keep the lid off. Is there a reason for the lid off? I was happy the way it turned out with the lid on, so I am curious. I am cooking it now with the lid off. Thanks!
Hi Lindy, I find it helps make the rice less mushy.
Ahh, makes sense. Thanks!
I’ve made this twice, both times in the same large pot (plenty of room to boil)and both times it turned out so mushy. I have a induction stove, could that be making a difference?
I’m sorry to hear that. I’m not sure that should matter. Was your rice old?
I just want to share for anyone who comes across this technique that this is the best way to cook brown rice. If you are rinsing your rice (which you should!) then it’s no more work in terms of cleaning up. The lundberg short grain rice tastes so much better than traditional methods. And it’s faster! The best.
Great to hear, Celeste!
Definitely a keeper, and I can freeze small portions in glass jars so there’s always “instant rice” on hand when I want it!
Great! Thank you for your review, MaryAnne.
I love your recipes .My husband is on Keytruda (cancer treatment) Vegan diet was suggested by our Diet consultant and it’s working good!
Can you salt the water?
I tried your method to cook rice purchased from a bulk bin with no cooking directions. I used extra water and the biggest pot I own. I followed your directions and tasted the rice after draining the liquid at the 30 minute mark. It was cooked through without the 10 minutes of steaming. I imagine every type of rice is a little different and how high the flame is makes a difference.
Hi Kate, thankyou for sharing this recipes, however the rice does not look properly cooked as you can still see the grain through the translucency of the rice. When eating it the rice will have nutty feel to it. To correct me can you please tell me which rice you are using and i will try this out myself as you are aware each type of rice cooks differently. I will make this recipe and tell you what I think. I actually have a different techniques to this. i wash rice first put rice in boiling water let the rice come to a full boil and then simmer with lid on for about 30 minutes and then I wash the rice again to get all the starch out and then put the rice back into a clean pot and on a low heat the excess water in the rice from blanching heats up and turns into a steam then drys out, this is the bit where fluffing the rice up with a 3 pronged fork helps, not use a spoon or it can easily turn to mush. Any way I have tried so many different techniques of cooking rice. So on that note please tell me what rice you used so I can recreate your recipe.